Stop Wasting Money on the Wrong Suspension Setup
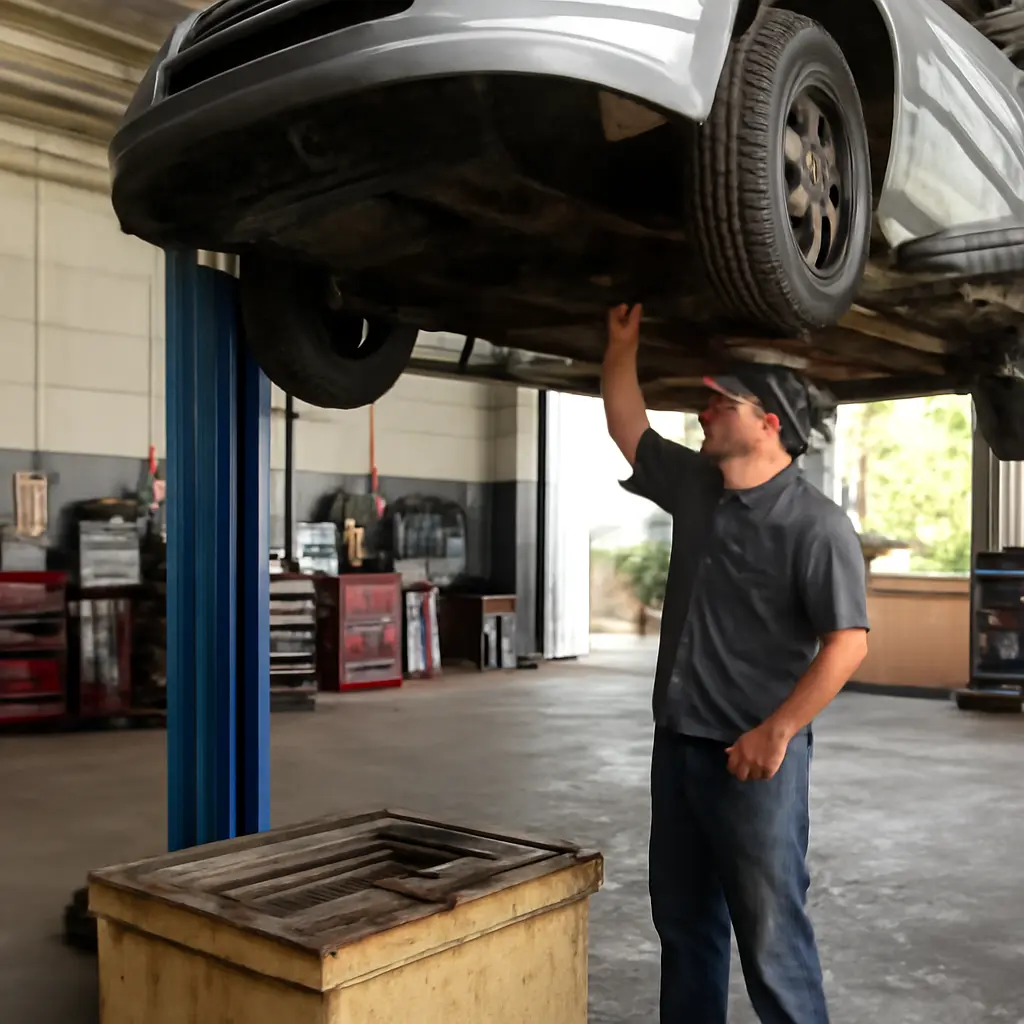
The right suspension setup matches your vehicle, load, terrain, and driving priorities—not the most expensive lift kit or stiffest shocks on the shelf. Suspension includes springs, dampers, and related components that control wheel movement and help keep tires in contact with the road. To stop spending on parts that do not solve your problem, first identify the symptom, then check the vehicle and its intended use, compare compatible options, and account for installation and alignment. That matters for safety as well as comfort: the U.S. National Highway Traffic Safety Administration says tire condition, inflation, and vehicle handling are important to safe driving, while suspension changes can affect how a vehicle behaves and should be selected and installed with care.
Suspension setup starts with matching the system to the vehicle’s job
A suspension setup is the combination of springs, dampers, bushings, links, and adjustment settings chosen to manage wheel movement and support a vehicle under particular operating conditions. In practical terms, it is not one “upgrade” but a system: springs support weight and set ride height; dampers control spring oscillation; and geometry, tires, and alignment influence how the vehicle turns, brakes, and tracks.
There is no universally best setup. A comfortable daily driver, a vehicle that regularly carries a heavy payload, and a track car need different compromises. The U.S. Department of Transportation’s National Highway Traffic Safety Administration (NHTSA) advises owners to follow vehicle and tire manufacturers’ recommendations. For light trucks, SUVs, and vans, the tire and loading information placard and owner’s manual specify the vehicle’s maximum load and recommended tire pressures; suspension parts do not increase those certified limits.
Think of suspension choices as a spectrum of related types: original-equipment replacement for restoring intended behavior; comfort-oriented components for reducing harshness; load-supporting components for recurring work loads; and performance or off-road systems for specialized conditions. Choosing within the right category is usually more effective—and less wasteful—than buying the most aggressive option.
Start with the problem, not the product
A suspension complaint is a symptom, not a diagnosis. Excessive bouncing may point to worn dampers, but pulling, uneven tire wear, clunks, or a sagging corner can also involve tires, alignment, worn joints, damaged springs, or loose components. Replacing shocks alone will not fix a bent control arm or incorrect tire pressure.
Before shopping, note when the issue occurs: over sharp bumps, during braking, with a full load, at highway speed, or while turning. Check tire pressures against the vehicle placard, inspect tires for uneven wear, and ask a qualified technician to examine the suspension and steering. This basic diagnosis can prevent paying for parts that do not address the cause.
Use the vehicle’s real duty cycle
Duty cycle means how the vehicle is actually used over time. A car that mostly carries one or two people on paved roads does not need the same spring rate or travel as a truck that routinely carries tools, tows within its rating, or travels over rough terrain. Occasional use should not automatically dictate an expensive permanent setup: for rare heavy loads, a removable or adjustable solution may be more suitable, provided it is approved for the vehicle and does not exceed load ratings.
Suspension components solve different problems
Understanding component roles helps narrow the options. The spring supports the vehicle’s weight and stores energy as it compresses; the damper controls that spring’s motion. The U.S. Department of Transportation’s Federal Highway Administration describes vehicle suspension as part of the system that connects the vehicle body to its wheels and influences ride and handling. Because components work together, changing one can affect how the others behave.
Springs: ride height and load support
Coil springs, leaf springs, and torsion bars are common spring types. Their job is to support weight and allow controlled wheel travel—not simply to make a vehicle sit higher. A replacement spring should be selected for the vehicle’s axle, engine, trim, and expected load. A spring that is too stiff can make an unloaded vehicle uncomfortable and reduce tire contact on uneven surfaces; one that is too soft may sag or use up travel under load.
If a vehicle sags, establish whether the cause is worn springs, an overloaded vehicle, or a load that exceeds the vehicle’s rating. Helper springs and air-assist products can help manage an approved recurring load, but they do not raise the vehicle’s gross vehicle weight rating, axle rating, or towing capacity.
Dampers: controlling bounce and body motion
Shock absorbers and struts are dampers: they control spring movement after the suspension compresses or extends. A worn damper can contribute to repeated bouncing, poor body control, or irregular tire wear, but these symptoms are not proof by themselves. Inspection matters, because a leak, loose mount, damaged tire, or worn suspension joint can produce similar complaints.
Replacement dampers should be compatible with the vehicle and its springs. “Heavy-duty” does not automatically mean better: excessive damping can make a lightly loaded car feel harsh and may prevent the suspension from responding well to small road irregularities. For a daily driver, a quality original-equipment-style replacement is often a more sensible starting point than a track-focused or off-road damper.
Lift and lowering kits: geometry has consequences
A lift changes ride height and may alter suspension geometry, steering angles, alignment range, and the position of related components. A lowering kit can likewise change travel, clearance, and alignment. The result depends on the vehicle and kit design, not just the number of inches advertised.
Before buying, check whether the manufacturer provides application-specific fitment, required supporting parts, and alignment specifications. Ask whether the change affects brake hoses, driveshaft angles, headlamp aim, tire clearance, or electronic driver-assistance systems. A lift is not a substitute for appropriate tires, recovery equipment, or driver training, and modifications must comply with local laws and inspection requirements.
The right setup depends on comfort, payload, terrain, and use
Once the components are understood, match them to the job. Vehicle manufacturers tune suspension around multiple goals, including ride, handling, durability, and load capacity. Aftermarket parts can shift those trade-offs; they do not remove them. The best value is the setup that reliably meets the main need without imposing unnecessary cost or side effects.
Daily driving: restore before upgrading
For commuting and family use, begin by restoring worn parts to the vehicle’s intended specification. Correct tires, sound bushings, healthy springs, functional dampers, and a proper alignment often matter more than a dramatic modification. If the ride is too firm, verify tire pressure and tire type before replacing suspension parts; overinflation can make a vehicle feel harsher.
A useful comparison is to record the current symptoms, inspect the vehicle, and obtain an itemized quote for standard replacement parts versus an upgrade. Include labor, alignment, and any required hardware. A cheaper part can cost more over time if it wears quickly or requires extra corrective work.
Towing and carrying loads: stay within ratings
For towing or hauling, the first check is the vehicle’s ratings and the actual loaded weights—not a suspension product’s marketing claim. NHTSA and vehicle manufacturers direct owners to the owner’s manual and vehicle placard for loading guidance. Weighing a loaded vehicle at a public scale can reveal whether the vehicle or an axle is overloaded.
If the load is within the ratings but the vehicle’s rear suspension needs support, choose a product designed for that specific vehicle and load pattern. Remember that suspension aids do not correct poor trailer balance, inadequate tires, excessive tongue weight, or an overloaded axle. They should be treated as handling or leveling aids, not as permission to carry more.
Off-road and performance use: buy for conditions, not appearance
Off-road suspension may prioritize wheel travel, impact control, durability, or clearance, while track suspension may prioritize body control and repeatable handling. Those goals differ, and a setup optimized for one environment can be uncomfortable or less capable in another. For example, a tall lift with stiff springs may look purposeful but perform poorly on rough roads if it reduces usable travel or is mismatched to the dampers.
For a specialized build, use application-specific guidance from a reputable suspension manufacturer or qualified shop. Confirm the complete package—springs, dampers, geometry correction, wheels and tires, and alignment—rather than selecting parts independently. Ask for a written explanation of the intended use and trade-offs before authorizing work.
A careful buying process prevents expensive mistakes
Suspension purchases are easier to control when the decision is documented. Compare complete installed costs, verify fitment by exact year, make, model, trim, and drivetrain, and check warranty terms. Federal Trade Commission guidance on auto repair encourages consumers to get a written estimate and understand the work before authorizing repairs; the same habit is useful for modification quotes.
Compare total cost, not the box price
A fair comparison includes parts, labor, alignment, replacement fasteners, calibration or inspection where required, and likely maintenance. Some changes can accelerate wear on tires or related components if geometry is not corrected. Request an itemized estimate that identifies the parts, labor hours, alignment plan, and any additional work that could become necessary after inspection.
- Verify that the part is listed for your exact vehicle configuration.
- Ask whether the kit requires additional components or changes to factory systems.
- Confirm whether alignment is included and obtain the before-and-after readings.
- Check warranty coverage, return rules, and the installer’s experience with the application.
- Keep the original parts and documentation when practical, especially if the vehicle is leased or under warranty.
Know when professional inspection is the economical choice
A professional inspection is especially valuable when the vehicle clunks, pulls, sits unevenly, has visible fluid leakage, or shows rapidly worsening tire wear. Suspension and steering faults can affect control, and identifying a failed joint or damaged mount before installing new dampers can prevent repeat labor. Ask the technician to show the worn or damaged part and explain why the proposed repair addresses the symptom.
A practical decision checklist for your suspension setup
Use this sequence before spending money. It keeps the decision tied to evidence and makes it easier to compare a repair with an upgrade.
- Describe the symptom: note when it occurs and whether it changes with passengers, cargo, speed, or road surface.
- Check basics: verify tire pressure and inspect tires; consult the owner’s manual and vehicle placard.
- Get a diagnosis: have springs, dampers, joints, bushings, steering, and alignment assessed as appropriate.
- Define the primary use: daily comfort, approved payload, towing, off-road travel, or performance driving.
- Set a full budget: include installation, alignment, supporting parts, and potential follow-up work.
- Confirm the trade-offs: ask how the setup affects ride comfort, handling, clearance, load limits, and maintenance.
- Recheck after installation: follow the installer’s break-in or inspection instructions and monitor tire wear and handling.
A simple comparison chart can help: list each option in rows and score it against cost, comfort, load suitability, terrain, fitment confidence, and maintenance. The chart should not replace a mechanical inspection, but it can reveal when a costly feature has little value for the way you actually drive.
Conclusion: spend on the suspension problem you actually have
The most cost-effective suspension setup is the one matched to the vehicle’s condition, ratings, and real duty cycle. Springs support weight, dampers control motion, and lifts or lowering kits change geometry as well as appearance. Start with diagnosis, restore worn components where appropriate, respect manufacturer load limits, and compare complete installed costs before choosing an upgrade.
If your vehicle is bouncing, sagging, clunking, pulling, or wearing tires unevenly, arrange an inspection before ordering parts. For additional guidance, consult your owner’s manual, the vehicle placard, and application-specific instructions from the component manufacturer. Spending first on a clear diagnosis—and then on a compatible solution—is the simplest way to stop wasting money on the wrong suspension setup.
Sources: National Highway Traffic Safety Administration, Tires and Tire Safety, https://www.nhtsa.gov/vehicle-safety/tires; National Highway Traffic Safety Administration, Vehicle Load Limits, https://www.nhtsa.gov/vehicle-safety/vehicle-load-limits; Federal Highway Administration, Highway Vehicle Classifications and Characteristics, https://www.fhwa.dot.gov/policyinformation/tmguide/tmg_2013/vehicle-classification.cfm; Federal Trade Commission, Auto Repair Basics, https://consumer.ftc.gov/articles/auto-repair-basics
Related Post

Common Bike Bag Mistakes That Cost You Thousands in Repairs
A bike bag is luggage mounted to a bicycle or carried by its rider; a [...]
The hidden cost of buying bike bags without testing weight distribution
A bike bag is luggage mounted to a bicycle, but choosing one by appearance or [...]