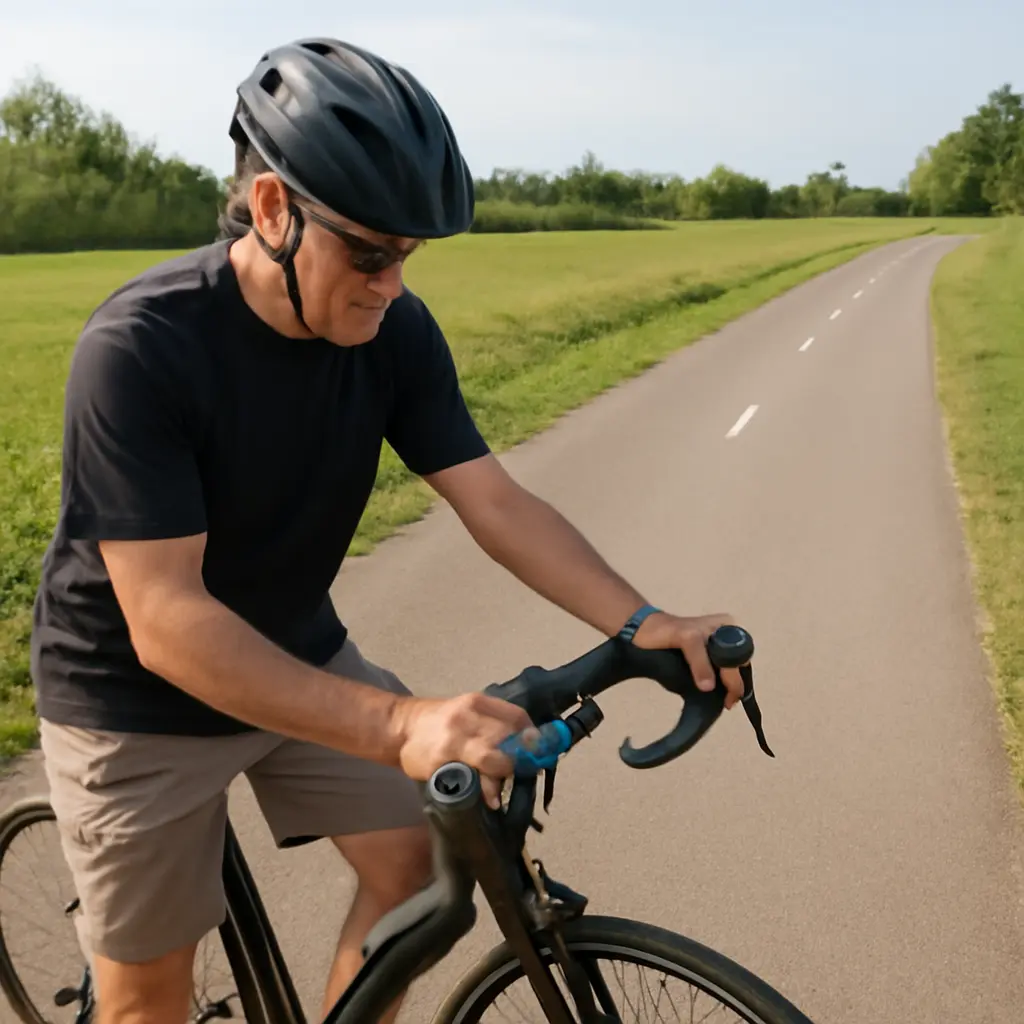
Common Bike Bag Mistakes That Cost You Thousands in Repairs
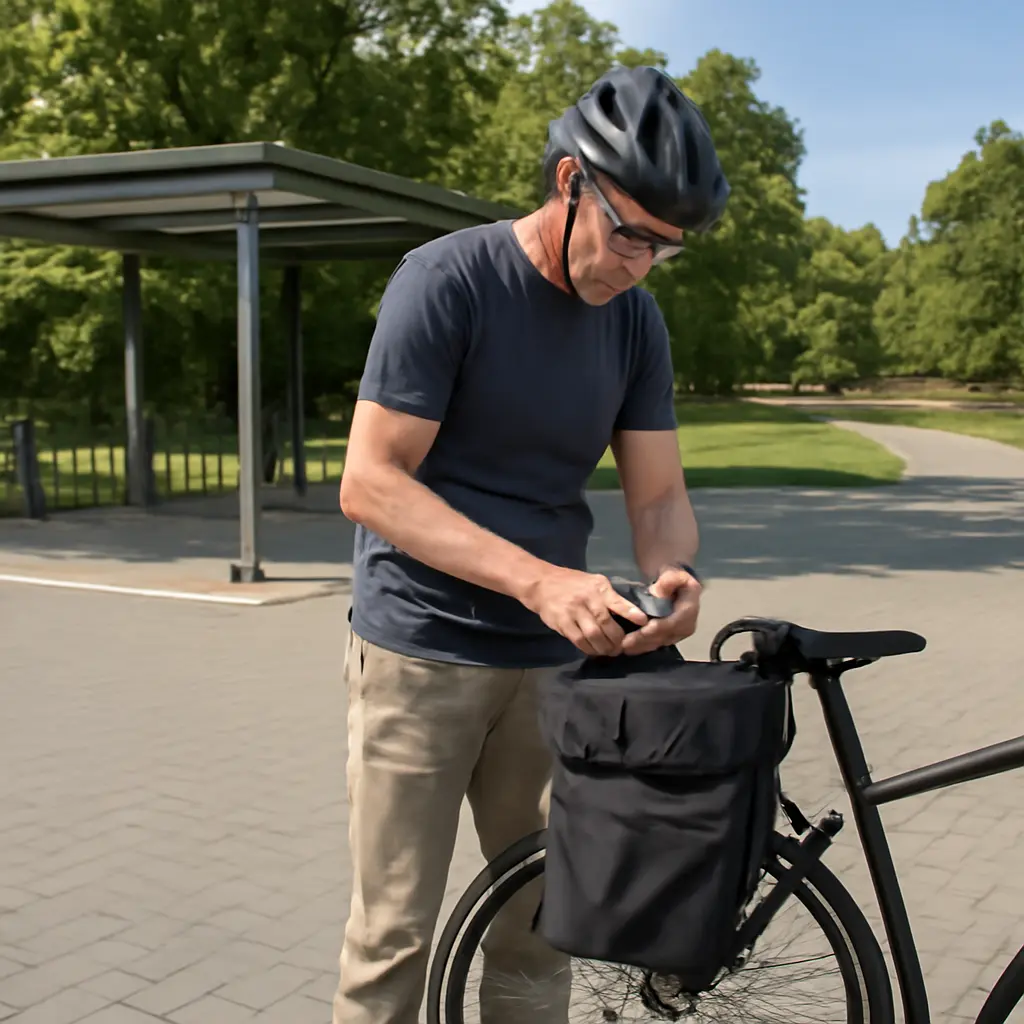
A bike bag is luggage mounted to a bicycle or carried by its rider; a well-fitted bag protects cargo, while a poorly chosen or installed one can damage paint, spokes, bearings, cables, or the frame. The most expensive mistakes usually involve excess weight, incompatible mounting, loose hardware, and neglected wear—not the bag alone. There is no reliable industry-wide statistic that assigns a typical repair bill to bike-bag errors, but damage can range from a modest wheel rebuild to costly frame or drivetrain replacement. Understanding load limits, clearance, attachment, and maintenance can help prevent those avoidable expenses.
How bike bag fit and mounting mistakes damage bicycles
Bike-bag fit means how a bag’s attachment points, dimensions, and loaded shape interact with the bicycle. The UK’s National Cycling Strategy and bicycle-industry guidance commonly treat safe luggage setup as a matter of secure attachment, suitable load distribution, and clearance from moving parts. A bag may fit an unloaded bike yet sag or swing when packed, so riders should assess it under its intended load.
Common bag types include panniers, handlebar bags, seat packs, frame bags, and baskets. Each creates different risks: panniers can reach spokes, handlebar bags can interfere with steering or cables, and heavy seat packs can stress their support points. The key is to match the bag and its mounting system to the bicycle, the intended cargo, and the maker’s weight limits.
Mistake: Choosing an incompatible rack or mount
A rack or bag mount is incompatible when its fittings, capacity, or frame contact points do not suit the bicycle. For example, a rack designed for threaded eyelets may not be safe when improvised onto a frame without them. Carbon frames, suspension bikes, and some seatposts require particular care: a clamp or strap placed where the manufacturer prohibits it may crush, abrade, or overload a component.
Check the bicycle and rack manufacturers’ instructions for permitted attachment points and maximum loads. Do not assume that a rack’s stated capacity overrides the bicycle’s own limits. If the bike has no approved mounting points, use a compatible system specifically designed for that frame rather than relying on improvised clamps or unsupported claims of fit.
Mistake: Letting bags or straps contact wheels and moving parts
Insufficient clearance allows a pannier, strap, buckle, or loose flap to rub a tire, enter the spokes, or catch a brake, chain, or crank. A wheel can pull soft material inward quickly, potentially locking the wheel or damaging spokes and derailleur components. Rear-wheel contact is especially easy to miss when a bag is only partly loaded or shifts during a ride.
Install the bag, pack it as it will be used, and check clearance while turning the wheels and moving the steering through its full range. Secure loose straps and confirm that the bag cannot swing into the wheel when pushed from side to side. Recheck after the first short ride, because mounting hardware and fabric can settle.
Mistake: Overtightening clamps or straps
Overtightening is applying more clamping force than the component or fitting can safely handle. Excess force can deform a rack, damage threads, crush a seatpost, or abrade paint and frame material. This is a particular concern with lightweight components and carbon fiber, where acceptable clamping force depends on the maker’s specifications.
Tighten bolts to the torque values specified by the rack or bicycle manufacturer, using a torque wrench where a value is provided. Do not use extra force to compensate for a poorly fitting mount. If a fitting slips at the prescribed torque, stop and choose a compatible mounting solution.
How load and balance mistakes increase repair risk
A bag’s load is the combined mass of the bag and its contents. Load distribution describes where that mass sits on the bicycle. The bicycle manufacturer’s maximum system weight—often defined as the combined weight of rider, bicycle, and luggage—must not be confused with a rack’s separate capacity. Exceeding either limit can increase stress on wheels, racks, frame fittings, and handling components.
The U.S. Consumer Product Safety Commission’s bicycle guidance emphasizes maintaining and inspecting bicycles, while bicycle manufacturers publish model-specific loading limits. There is no single safe luggage-weight figure for every bike: a touring bicycle, carbon road bike, and child’s bicycle can have very different limits. Use the lowest applicable limit among the bicycle, rack, bag, and accessories.
Mistake: Exceeding rack or bicycle weight limits
An overloaded rack places more force on its rails, bolts, eyelets, and supporting frame areas, particularly over bumps. Repeated overload can loosen fittings, bend rack tubing, damage threads, or contribute to wheel and frame problems. A bag’s advertised capacity is not proof that the bicycle can safely carry that weight.
Weigh the fully packed bag rather than estimating by appearance. Check the rack’s rated capacity, the bike’s maximum system weight, and any limits on front or rear loading. If a manufacturer gives a lower limit for rough surfaces, follow it; impacts on uneven roads can create greater loads than steady riding on smooth pavement.
Mistake: Concentrating heavy items high or at one end
A high or uneven load raises the bicycle’s center of gravity and can make steering, cornering, and stopping less predictable. A very heavy handlebar bag can affect steering, while a lopsided pair of panniers can pull the bike to one side. Poor balance may also increase the chance of a fall, which can damage the bicycle and its cargo.
Place dense items low and distribute them evenly between left and right panniers where possible. Keep essential items secured so they cannot shift, and avoid carrying more weight at the front or rear than the bike and rack are designed to support. Test the loaded bicycle at low speed in a safe area before riding in traffic.
Mistake: Packing hard objects against the frame
Hard cargo can press or knock against a frame, fork, or component when a bag moves. Tools, locks, and metal bottle cages can scrape finishes, dent tubing, or damage cables if packed without padding and restraint. Repeated rubbing can wear paint and may conceal deeper damage beneath dirt or protective tape.
Use internal pockets or soft dividers to separate tools and other hard items from the bag shell and bicycle. Secure cargo so it cannot slide, and inspect contact areas for polished paint, scratches, or unusual marks. Protective frame tape can reduce cosmetic abrasion, but it cannot make an unsafe attachment or overloaded bag safe.
How bag maintenance and inspection prevent costly damage
Bag maintenance means checking the bag, rack, fasteners, and nearby bicycle parts for wear or movement. Bags are exposed to vibration, rain, dirt, and repeated loading, all of which can loosen hardware or wear straps. A brief inspection before and after rides can reveal problems before they harm a wheel, frame, or drivetrain.
Bicycle maintenance organizations such as the League of American Bicyclists advise routine bicycle checks, including attention to wheels, brakes, and general mechanical condition. A luggage setup adds extra attachment points to inspect. The following issues are especially important because they can progress unnoticed during ordinary use.
Mistake: Ignoring loose bolts and worn attachment hardware
Loose rack bolts let the rack move, increasing stress on the remaining fasteners and frame mounts. Worn hooks, cracked clips, frayed straps, and damaged buckles can allow a bag to detach or swing into the wheel. Vibration can make these failures more likely over time, particularly when a heavy load is carried.
Before each ride, check that rack bolts are secure, hooks are fully engaged, and straps are not frayed or cracked. Periodically inspect threaded mounts for corrosion or damaged threads. Replace compromised parts with components approved for the rack or bag instead of improvising a repair that could fail under load.
Mistake: Allowing water, grit, and corrosion to accumulate
Moisture and grit trapped between a bag, rack, and frame can accelerate corrosion or abrade paint. Water can also affect metal fasteners and electrical connections on e-bikes if bags obstruct or expose components in ways the manufacturer does not permit. A waterproof bag does not necessarily make the bicycle’s fittings waterproof.
After wet or dirty rides, remove the bag when practical, clean the contact points, and let the area dry. Inspect bolts and frame mounts for rust, pitting, or discoloration. Follow the bicycle maker’s cleaning instructions, particularly for bearings, electrical components, and carbon frames; avoid directing high-pressure water at bearings or seals.
Mistake: Failing to recheck a new setup
A newly installed bag can settle as fabric stretches and fasteners bed in. A setup that appears secure in a garage may shift once loaded and exposed to road vibration. Skipping a follow-up check can turn a small adjustment into a damaged spoke, bent rack, or scraped frame.
After installation, inspect the setup with the full intended load and take a short, low-speed test ride. Recheck bolts, strap tension, wheel clearance, and cable movement afterward. Repeat the inspection after changing bags, adjusting the rack, carrying a different load, or riding rough terrain.
A practical checklist for avoiding bike-bag repair bills
A consistent checklist turns bag safety into a routine rather than a guess. Before setting out, confirm that the bicycle, rack, and bag are compatible; the packed weight is within every relevant limit; and no part can contact wheels, brakes, chains, or cables.
- Read the bicycle, rack, and bag manufacturers’ mounting and load instructions.
- Use approved attachment points and torque specifications; do not force a poor fit.
- Pack dense items low, secure them against movement, and balance side-to-side loads.
- Check wheel, tire, brake, chain, crank, and steering clearance with the bag fully loaded.
- Secure loose straps and inspect hooks, clips, bolts, and rack tubing for wear.
- After wet rides, clean and dry bag-to-frame contact points and check for corrosion.
- Stop riding if a rack is bent, a mount is cracked, a strap is damaged, or a bag enters a wheel.
A repair shop should inspect suspected frame, fork, wheel, or rack-mount damage before the bicycle is used again. A crack or damaged threaded fitting is not a cosmetic issue to dismiss: continued riding can worsen the damage and increase the risk of component failure.
Conclusion: Small bike-bag mistakes can create expensive damage
The costliest bike-bag mistakes usually begin with an incompatible mount, a bag that reaches moving parts, excessive or poorly balanced weight, or neglected hardware. The appropriate capacity depends on the particular bicycle and rack, so manufacturer limits—not a generic rule of thumb—should guide loading. Fit the system correctly, secure the cargo, and inspect it regularly to reduce avoidable wear and repair risk.
Before your next ride, check your bag with its normal load and review the bicycle and rack instructions. If you find a crack, bent mount, damaged thread, or persistent rubbing, stop and ask a qualified bicycle mechanic to assess it. A few minutes of prevention can protect both your equipment and your safety.
Sources: U.S. Consumer Product Safety Commission, Bicycle Safety, https://www.cpsc.gov/Safety-Education/Safety-Guides/Sports-Fitness-and-Recreation/Bicycles; League of American Bicyclists, Bicycle Safety and Education, https://bikeleague.org/ridesmart/; Trek Bicycle, Owner’s Manuals and Bicycle Safety Information, https://www.trekbikes.com/us/en_US/owners_manuals/; Park Tool, Bicycle Maintenance and Repair Help, https://www.parktool.com/en-us/blog/repair-help
Related Post
The Unexpected Comfort Hack That Changed Overnight Cycling Forever
Overnight cycling has a comfort problem: riders need to stay warm and visible for hours [...]
Keeping your ears warm without sacrificing safety on icy morning commutes
Warm ears matter on icy morning commutes, but hearing traffic, warnings, and other people is [...]