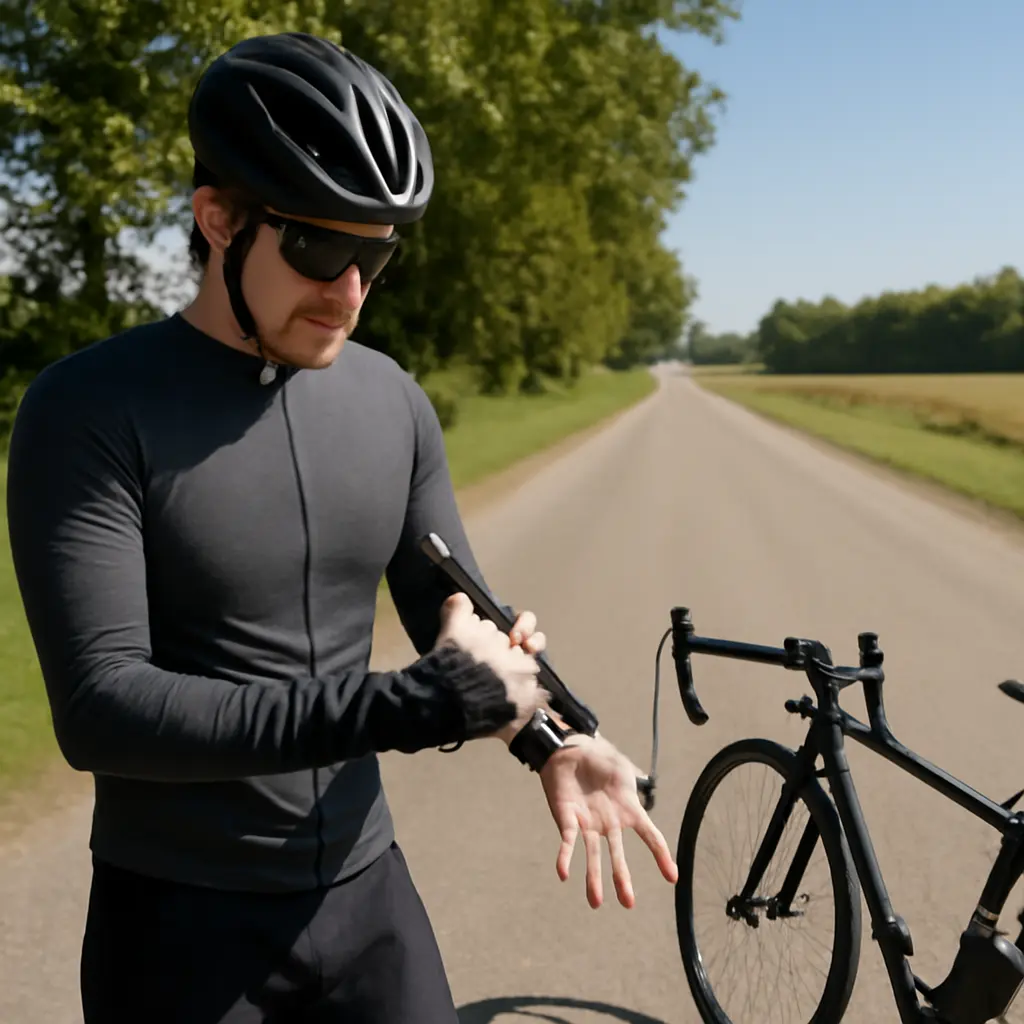
Measuring Your Dome for a Helmet Without Losing Your Mind
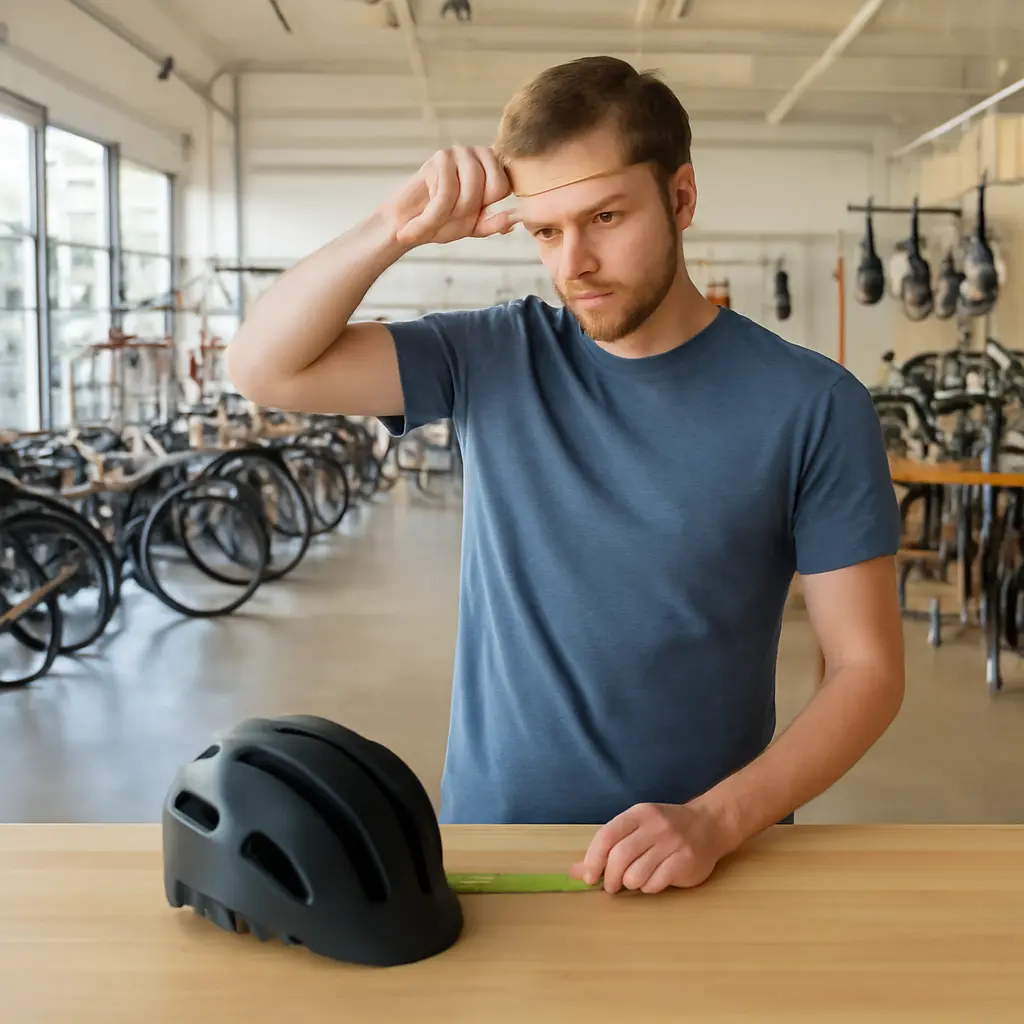
A helmet fit starts with a simple measurement: the circumference of your head at its widest level. That number is a useful starting point, not a guarantee of fit, because head shape, helmet design, and the manufacturer’s size chart all matter. To measure your head, wrap a flexible tape just above your eyebrows and ears and around the fullest part of the back of your head; compare the result with the specific helmet’s sizing chart, then confirm fit by trying it on. This guide explains where and how to measure, how to interpret the result, what to do when you fall between sizes, and how to check the finished fit for safety and comfort.
Head circumference measurement for helmet sizing
Head circumference is the distance around the head at a consistent level. Helmet makers use it as a sizing reference, usually expressed in centimeters or inches, but it does not fully describe head shape or predict fit by itself. The National Highway Traffic Safety Administration (NHTSA) advises buyers to select a helmet that fits snugly and securely, while the Snell Memorial Foundation emphasizes that fit and retention are central to helmet performance.
A measurement is most helpful when it is accurate and paired with the chart for the exact helmet model. Size labels such as small, medium, and large are not standardized across brands. For example, a circumference that falls within one company’s medium range may correspond to a different label in another company’s chart.
Where to place the measuring tape
Position a flexible, non-stretch tape horizontally around the head, approximately one inch (about 2.5 centimeters) above the eyebrows. Pass it just above the ears and around the fullest part of the back of the skull. Keep the tape level and close to the head without compressing the skin. If you do not have a flexible tape, use a piece of string, mark where it meets, and measure the string against a ruler.
This route captures a broad circumference rather than a forehead-only or hat-size measurement. Hair can affect the reading, so measure in the way you will typically wear it under the helmet. Avoid adding extra allowance for comfort: helmet padding is designed to make contact with the head, and a loose helmet can shift during use.
How to take a repeatable reading
Take the measurement at least twice, removing and repositioning the tape between readings. If the results differ, take a third measurement and use the consistent reading rather than averaging an obvious placement error. A helper can make it easier to keep the tape level, especially at the back of the head. Record the result in the unit used by the manufacturer’s chart, converting carefully if needed: one inch equals 2.54 centimeters.
The measurement should be treated as a screening step, not a final verdict. The Centers for Disease Control and Prevention (CDC) notes that bicycle helmets should fit properly and be worn level; its “eyes, ears, mouth” fit check provides practical signs to inspect after the helmet is on.
Helmet size selection from circumference and shape
Helmet size selection is the process of matching a measured head and its shape to a specific model’s size range, then checking the fit on the wearer. Circumference narrows the options, while a try-on reveals pressure points, excess movement, and incompatibility between the helmet’s internal shape and the wearer’s head. A good fit is snug and even, without painful hotspots or large gaps.
Manufacturers design helmets with different internal profiles. Some feel more oval from front to back; others feel rounder or wider side to side. These are informal fit descriptions, not universal certification categories, so the practical test is how the particular helmet sits on your head.
Using the manufacturer’s size chart
Find the chart for the exact model, not simply the brand. Place your circumference within its stated range and follow the maker’s instructions if the result lies at a boundary. Do not assume that a particular letter size has the same dimensions across manufacturers or across different models from the same manufacturer.
If your measurement sits between sizes, try both when possible. The smaller size is not automatically the safer choice: it must sit level and feel evenly snug without causing pain, while the larger size must not rock or slide. Never rely on removing protective liner material or adding improvised padding to make a poorly fitting helmet work.
Recognizing head-shape mismatch
A helmet may match your circumference but still press uncomfortably at the forehead, temples, or sides. A localized pressure point can indicate that the helmet’s internal profile does not suit your head. Conversely, a helmet that feels comfortable but moves freely may be too large or have an incompatible shape. Try a different model or fit profile rather than forcing a mismatch.
A real-world example is a rider whose measurement falls squarely in a model’s medium range but whose temples feel pinched. Moving to a larger size may ease the pressure while introducing movement; a different model in the same nominal size may provide a better profile without sacrificing stability.
Helmet fit checks after measuring
A fit check confirms that the selected helmet remains in place and that its retention system is adjusted correctly. For a bicycle helmet, the CDC’s “eyes, ears, mouth” check offers a memorable sequence: the helmet should sit level and low, the straps should form a V around the ears, and the chin strap should be snug enough that opening the mouth pulls the helmet down slightly.
Level position and movement test
Place the helmet level on the head, with the front edge low enough to protect the forehead rather than tilted back. Fasten the strap, then gently move the helmet forward, backward, and side to side. The skin on your forehead should move with the helmet; if the helmet shifts independently or exposes the forehead, readjust it or try another size or model. It should feel secure without creating pain or numbness.
Fit details differ by helmet type. Bicycle, motorcycle, equestrian, and industrial helmets have different designs, standards, and retention systems. Follow the instructions and safety standard applicable to the intended activity; do not assume a helmet designed for one use provides protection for another.
Straps, comfort, and final confirmation
Adjust the side straps so they meet just below each ear, then secure the chin strap according to the manufacturer’s directions. Wear the helmet for several minutes and check for persistent pressure, pain, or looseness. A fit that becomes uncomfortable quickly is unlikely to work well in use. If the helmet is for a child, recheck fit as the child grows and whenever the helmet is used.
For cycling, the NHTSA recommends choosing a helmet that meets the relevant U.S. Consumer Product Safety Commission (CPSC) standard; the CPSC’s bicycle helmet rule is codified at 16 CFR Part 1203. Certification does not replace fit: a standards-compliant helmet still needs to sit correctly, be secured, and be used as intended.
Common measuring mistakes and practical fixes
- Measuring too high or too low: keep the tape above the eyebrows and ears, around the fullest part of the back of the head.
- Pulling the tape too tight: make it touch the head without compressing skin or hair.
- Taking only one reading: repeat the measurement and reposition the tape each time.
- Choosing by a generic size label: use the chart for the exact model.
- Buying extra room for comfort: a helmet should be comfortably snug, not loose.
- Ignoring pressure points: try a different internal shape instead of sizing up automatically.
- Skipping the try-on: verify level position, strap adjustment, and resistance to movement before use.
Conclusion: measure, compare, and verify
Head circumference measurement gives you a reliable starting point for helmet shopping, but proper helmet size selection also depends on the maker’s chart, head shape, and an in-person fit check. Measure level above the eyebrows and ears, repeat the reading, compare it with the exact model’s chart, and confirm that the helmet sits level and stays put once fastened. Because helmet types and safety requirements differ, consult the instructions and standards for your activity. Measure before you buy, and ask a qualified retailer or the manufacturer for help if the fit remains uncertain.
Sources: National Highway Traffic Safety Administration, “Choose the Right Bicycle Helmet,” https://www.nhtsa.gov/road-safety/bicycle-safety; Centers for Disease Control and Prevention, “Bike Helmets,” https://www.cdc.gov/heads-up/prevention/bicycle-helmets.html; U.S. Consumer Product Safety Commission, “Bicycle Helmets,” https://www.cpsc.gov/Business–Manufacturing/Business-Education/Business-Guidance/Bicycle-Helmets; Electronic Code of Federal Regulations, 16 CFR Part 1203—Safety Standard for Bicycle Helmets, https://www.ecfr.gov/current/title-16/chapter-II/subchapter-B/part-1203; Snell Memorial Foundation, “Helmet Fit,” https://smf.org/helmet_fitting
Related Post

Frame Size, Gears, and Budget Breakdown for the Completely Lost Beginner
A bicycle’s frame size is the fit dimension that helps determine whether the rider can [...]
Five Mistakes People Make When Buying Their First Commuter Bike
A commuter bike is a bicycle chosen and equipped for regular trips to work, school, [...]