Frame Size, Gears, and Budget Breakdown for the Completely Lost Beginner
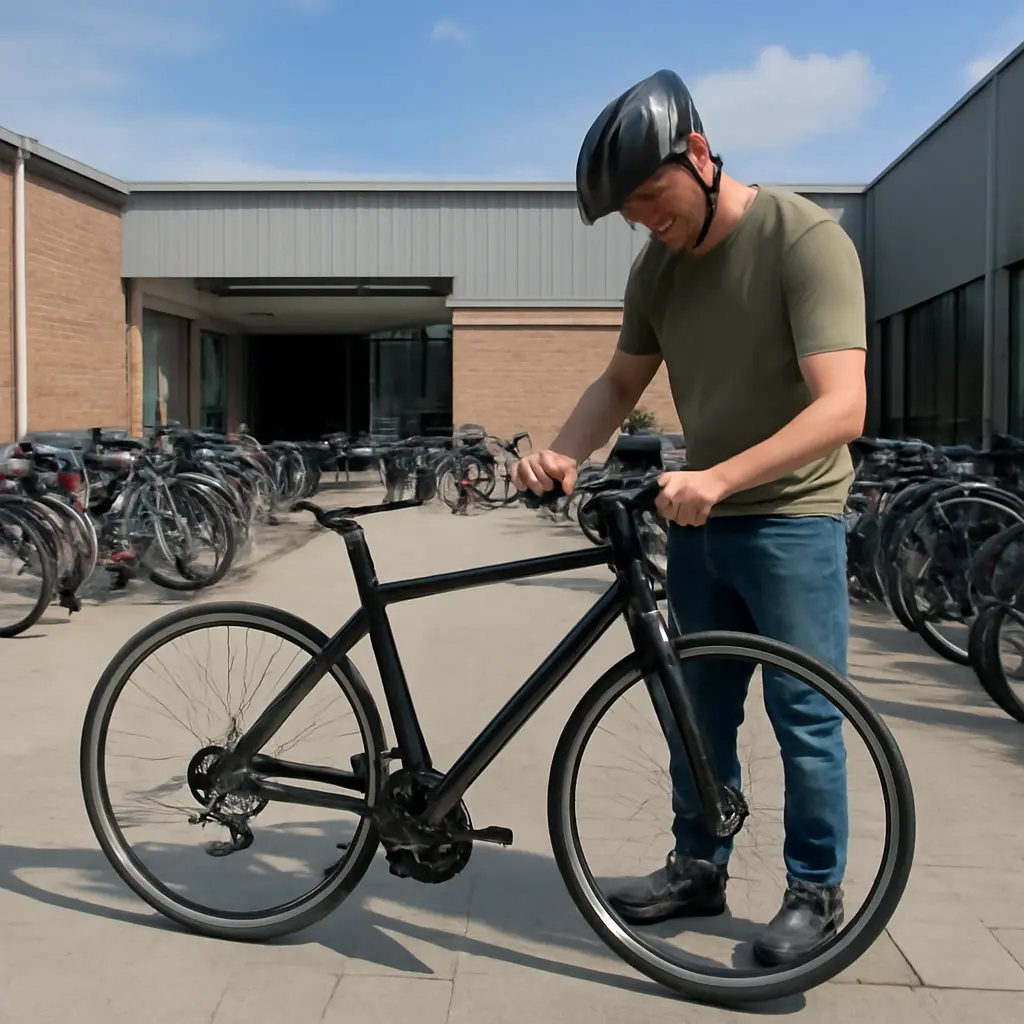
A bicycle’s frame size is the fit dimension that helps determine whether the rider can reach the handlebars, pedal comfortably, and control the bike; its gears are the drivetrain ratios that make pedaling easier or faster in different conditions. For a completely new buyer, the sensible order is to choose the right bike type and frame fit first, then select gearing for the routes you ride, and finally compare the full cost—including safety gear and likely maintenance. There is no single universal frame-size chart: sizing varies by bike design and brand, so a manufacturer’s chart and a test ride are more useful than relying on a height number alone. This guide explains frame measurements, gear choices, and realistic budget tiers, using guidance from organizations such as REI, Shimano, and the League of American Bicyclists.
Frame Size Determines How a Bicycle Fits
A bicycle frame is the structure that supports the wheels, fork, saddle, and drivetrain. “Frame size” usually refers to a manufacturer’s measurement of the seat tube or to a size label such as small, medium, or large, but the label is not standardized across all bicycle types or brands. REI’s bike-fit guidance emphasizes using the maker’s sizing chart and checking fit on the actual bike, because geometry and intended use affect how a given size feels.
Two useful fit concepts are standover height—the clearance between the rider and the top tube while standing over the bike—and reach, the horizontal distance from the saddle area to the handlebars. A bike can meet a basic height recommendation yet still feel too long, cramped, or difficult to control. Fit also depends on adjustability: saddle height and handlebar position can be tuned within limits, but adjustments cannot make a fundamentally wrong frame size right.
Choose a Size Using the Bike’s Own Chart
A size chart is the manufacturer’s recommended relationship between rider measurements and a particular model. Measure your height accurately, and, when the chart requests it, measure inseam barefoot from the floor to the crotch. Compare those measurements with the chart for the exact bike—not merely another model from the same company. If you fall between sizes, try both when possible: the smaller option may feel more maneuverable, while the larger one may feel more stretched out, depending on the frame geometry.
A practical test ride should feel stable and controlled. You should be able to reach the brakes without strain, steer without feeling excessively stretched, and pedal with a slight bend in the knee when the pedal is at its lowest point. The League of American Bicyclists recommends checking that a bicycle is the right size and adjusted properly as part of safe cycling practice. A qualified shop can help assess fit, especially if you have pain, limited mobility, or are buying a performance bike.
Frame Types and Geometry Change the Fit
A hybrid, road, mountain, commuter, and comfort bike can all use different frame proportions and riding positions. Road bikes often place the rider in a more forward posture; mountain bikes typically provide clearance and handling suited to uneven terrain; and many hybrids aim for a more upright position. Step-through frames lower or remove the traditional top tube to make mounting easier, but they still come in multiple sizes and should be fitted by the same basic principles.
Do not assume that a familiar size label transfers between categories. A medium mountain bike and a medium road bike may have substantially different reach, standover, and seat-tube dimensions. When a purchase is online, confirm the brand’s geometry chart, return policy, and assembly requirements before ordering.
Bicycle Gears Match Pedaling Effort to Terrain
Bicycle gearing is the combination of chainrings at the pedals and sprockets at the rear wheel that determines how far the bike travels with each pedal revolution. Shimano describes gear selection as a way to adapt pedaling effort and cadence to changing terrain and speed. A lower gear makes climbing and starting easier but limits speed at a given cadence; a higher gear helps maintain speed on flat roads or descents but requires more force to turn.
The number printed in an advertisement can be misleading. A bike described as having “21 speeds” may have three front chainrings and seven rear sprockets, but not all combinations are useful, and some overlap. For a beginner, the key questions are simpler: Is there an easy enough gear for the steepest hill you expect to ride? Can you shift reliably? And are you comfortable with the controls?
Derailleur Gears Offer a Broad Range
A derailleur system moves the chain between sprockets as you shift. It is common on road, mountain, and many hybrid bikes because it can provide a wide range of ratios without adding much weight. Front derailleurs, where fitted, shift between chainrings; rear derailleurs shift across the cassette. Beginners should avoid extreme chain angles—such as the largest front ring paired with the largest rear sprocket—because they can increase wear and make shifting less efficient.
Shift while pedaling lightly rather than pushing hard on the pedals. Shimano’s general shifting guidance highlights easing pressure during a gear change, particularly on a climb. If you anticipate a hill, shift to an easier gear before the slope becomes steep; shifting under heavy load can make a chain skip or strain components.
Internal-Hub and Single-Speed Gears Reduce Complexity
An internal-gear hub encloses its shifting mechanism inside the rear hub, while a single-speed bicycle has one effective ratio and no gear shifting. Internal hubs are often chosen for commuting because they can be shifted while stopped and protect much of the mechanism from dirt and weather. Single-speeds are mechanically simple and may suit flat routes, but they can be tiring on steep hills or over long distances.
A simple drivetrain is not automatically the best choice: route, fitness, cargo, and local hills matter. Riders in a flat city may be comfortable with fewer gears, while someone carrying groceries up steep streets will benefit from an easier climbing ratio. For a first bike, choose the gearing that makes the hardest regular ride manageable rather than selecting by gear count alone.
Use Cadence and Shifting to Ride More Comfortably
Cadence is the rate at which the pedals turn, usually measured in revolutions per minute. There is no single ideal cadence for every rider, but a gear that lets you pedal smoothly without grinding excessively hard or spinning uncontrollably is a useful starting point. Shift to an easier gear when effort rises and a harder gear when your legs are turning quickly with little resistance.
A simple practice ride on a quiet, level route helps you learn the controls before traffic or hills add pressure. Try each gear gradually, listen for rough or delayed shifts, and ask the seller to check that the drivetrain is adjusted. A short demonstration can prevent confusion and reveal mechanical problems before you commit to the bike.
A Bicycle Budget Includes More Than the Purchase Price
The total cost of owning a bicycle includes the bike itself, essential safety and visibility equipment, a lock, fit adjustments, and routine maintenance. Prices vary widely by country, retailer, model, and season, so treat the figures below as planning categories rather than universal market quotes. The U.S. Consumer Product Safety Commission advises cyclists to wear a properly fitted helmet and follow safe riding practices; local helmet laws differ, so check the rules where you ride.
For a first-time buyer, prioritize a mechanically sound bike that fits over extra features. A low-priced bike that is badly sized or needs immediate repairs may cost more in frustration and shop work than a dependable entry-level model. Ask the seller what is included, whether assembly and a safety check are provided, and what warranty or return terms apply.
Set a Bike-Purchase Budget by Use
A basic new bike can be suitable for occasional, relatively gentle riding if it is correctly assembled and fitted. A mid-range recreational or commuter bike may offer more dependable components, easier maintenance, and a better fit range. Performance road, trail, cargo, and electric bikes generally cost more because their materials, components, suspension, motor systems, or intended loads are more demanding.
Rather than rely on one price threshold, compare several bikes in the same category and check what the quoted price includes. For a used bicycle, budget for an inspection and possible replacement of worn tires, brake pads, chain, or cables. A shop inspection is especially sensible if you cannot assess frame damage, wheel condition, braking, or drivetrain wear yourself.
Reserve Money for Essential Accessories
A useful starter kit typically includes a properly fitting helmet, front and rear lights when riding in low light, a lock, and a pump or access to inflation. A spare tube or repair kit and tire levers can help with a puncture, while a water bottle and bottle cage may make longer rides more comfortable. Accessories should match your route and local requirements: a commuter who parks outdoors may need a stronger lock than a rider who stores the bike indoors.
- Safety: helmet, lights, and reflective details for visibility.
- Security: a lock suited to where and how long the bike is parked.
- Basic repairs: pump, tire levers, and a compatible spare tube or patch kit.
- Comfort and carrying: water bottle, rack, fenders, or a basket if your riding needs them.
Buy essentials before decorative upgrades. If your bike does not include lights or a lock, include those costs in the initial budget rather than treating them as optional later purchases.
Plan for Maintenance and Ownership Costs
Bicycles need periodic checks of tire pressure, brakes, chain condition, bolts, and shifting. The frequency of professional service depends on mileage, weather, storage, and component wear. Wet or gritty conditions can accelerate drivetrain wear, while a bike used only occasionally in dry weather may need less frequent attention. The Bicycle Product Suppliers Association and established repair guides commonly stress routine inspection, but the exact service interval should follow the bike maker’s instructions and a mechanic’s assessment.
Before buying, ask whether the shop offers a first tune-up, what it costs to replace common wear parts, and whether the bike uses standard components. Keeping a small reserve for maintenance helps avoid turning an affordable purchase into an unusable one when a tire, brake pad, or chain needs attention.
A Beginner’s Buying Checklist Connects Fit, Gears, and Cost
Consider a new rider choosing between a flat-bar hybrid for neighborhood errands and a mountain bike for dirt trails. The hybrid may better suit paved paths and an upright posture; the mountain bike may be the right choice for rough terrain, where tire grip and suitable gearing matter more. In either case, a correctly sized frame and a low enough climbing gear are more important than a long list of features the rider will not use.
- Decide where you will ride most often: roads, paved paths, trails, or a mix.
- Use the exact model’s size chart, then test ride and check reach, control, and saddle adjustment.
- Choose gearing for your actual hills, pace, and cargo rather than the advertised speed count.
- Compare the complete cost, including helmet, lights, lock, basic repair supplies, and likely service.
- Before taking the bike home, have the brakes, tires, steering, wheel security, and shifting checked.
This sequence prevents a common beginner mistake: choosing a bike based on looks or a sale price, then discovering it does not fit the rider or suit the route. A short test ride and an honest conversation with a knowledgeable shop can be worth more than paying extra for advanced components.
Conclusion: Buy for Fit, Route, and Total Cost
Frame size is a model-specific fit decision, bicycle gears adapt pedaling effort to terrain, and a realistic budget accounts for accessories and maintenance as well as the bike. Start with the type of riding you plan to do, use the manufacturer’s sizing information, and test ride whenever possible. Then select the simplest gearing that handles your regular routes and reserve money for safety equipment and upkeep. For further guidance, consult a local bicycle shop, the manufacturer’s fit and maintenance instructions, and cycling-safety resources from the League of American Bicyclists.
Sources: REI Co-op, “How to Choose a Bike,” https://www.rei.com/learn/expert-advice/bicycle.html; Shimano, “How to Use Your Gears,” https://bike.shimano.com/en-US/information/news/how-to-use-your-gears.html; League of American Bicyclists, “Smart Cycling Tips,” https://bikeleague.org/ridesmart/; U.S. Consumer Product Safety Commission, “Bicycle Safety,” https://www.cpsc.gov/Safety-Education/Safety-Education-Centers/Bicycles; Bicycle Product Suppliers Association, “Bicycle Market Research,” https://www.bpsa.org/
Related Post

How To Read A Helmet Certification Label Without Losing Your Mind
A helmet certification label is the small but important mark that identifies which safety standard [...]
What mechanics wish cyclists knew before showing up
A bicycle mechanic is a trained technician who inspects, maintains, and repairs bicycles and their [...]