The Inseam Mistake Cyclists Keep Making and How to Get It Right
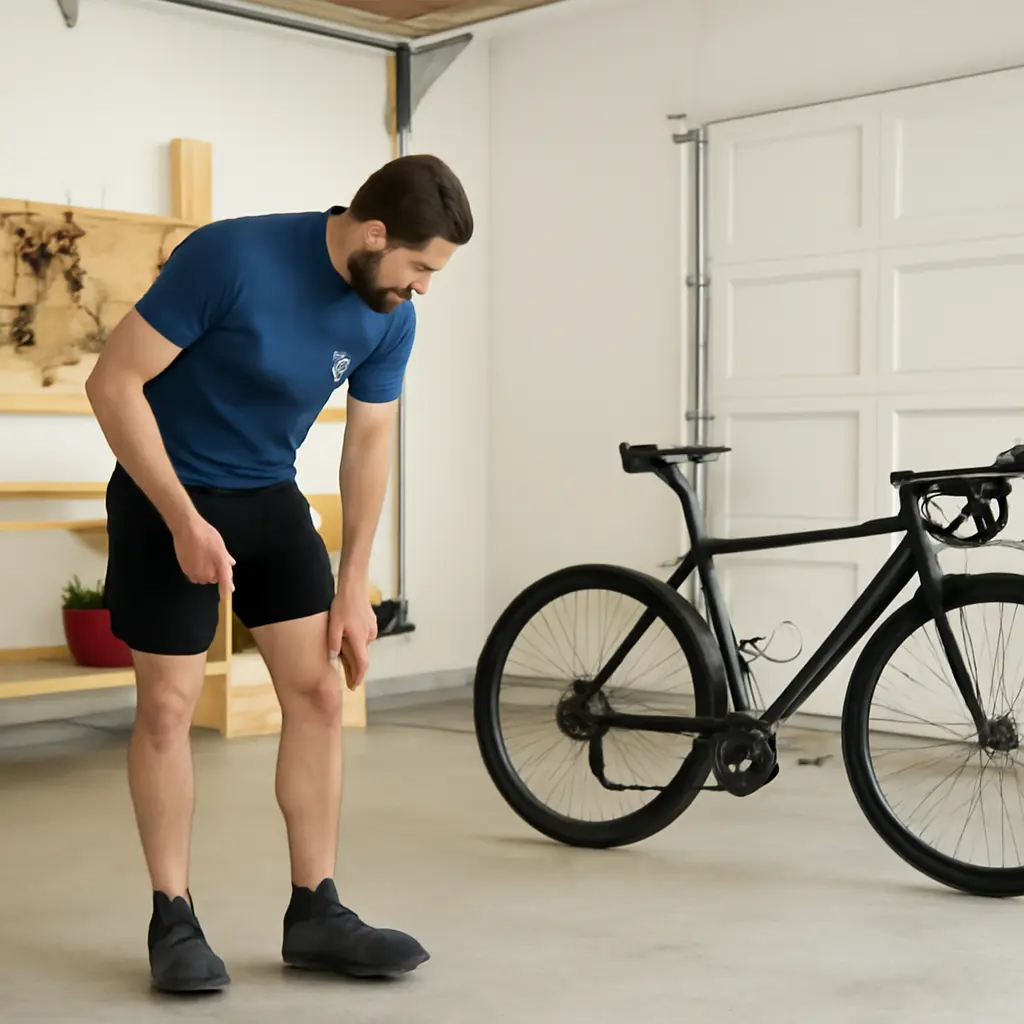
A cycling inseam is a body measurement used to estimate leg length, but it is not the same as the inseam printed on a pair of trousers—and neither measurement, by itself, determines the right bicycle fit. The common mistake is treating a single inseam number as a complete bike-sizing or saddle-height answer. A better approach is to measure consistently, use the result as a starting point, then confirm it against the bike’s geometry and your position on the pedals. This guide explains what cycling inseam means, how to measure it, how it informs frame and saddle setup, and how to check the result safely. The distinction matters: a small measurement error can shift a fit starting point, while a comfortable, controlled position requires more than a tape measure.
Cycling inseam measurement: what the number actually represents
Cycling inseam usually means the distance from the floor to the crotch, measured while standing barefoot or in thin socks with a firm object held snugly upward to simulate saddle pressure. It is a practical estimate of leg length—not a direct measurement of a bicycle frame, saddle height, or trouser inseam. Bike-fitting resources such as the late cycling coach and fitter Lennard Zinn’s guidance emphasize that inseam can help establish an initial fit, but the rider’s proportions, equipment, flexibility, and riding position also matter.
That distinction is important because manufacturers size frames using different conventions, including seat-tube length, effective top-tube length, and proprietary size labels. Two bikes marked the same size can fit differently. Inseam is therefore best treated as one input among several, alongside torso and arm reach, intended use, and a test ride or professional fit.
Cycling inseam versus clothing inseam
A clothing inseam is generally the inside seam length of a garment, from the crotch seam to the hem. It is affected by the cut, rise, and intended length of the trousers. A cycling inseam measurement instead runs from the floor to the body’s crotch point. Because the starting and ending points differ, a pants label should not be substituted for a bike-fit measurement.
Why inseam is useful—but limited
Inseam can help compare a rider’s leg length with a bicycle’s standover height and can provide a starting estimate for saddle position. However, it does not reveal pelvic rotation, ankle movement, knee tracking, or the rider’s preferred reach. A rider with longer legs and a shorter torso may need a different cockpit setup from someone with the same inseam but different proportions.
Cycling inseam measurement: how to get a repeatable result
A useful measurement depends on consistent technique. The general method is simple: stand against a wall, place a rigid book or level between the legs, raise it firmly until it contacts the crotch as a saddle would, and measure vertically from the floor to the top edge. Take the measurement more than once; if the readings differ, reset your position and repeat rather than averaging a clearly inconsistent result.
The at-home measuring method
- Remove shoes and stand barefoot or in thin socks on a hard, level floor, with your back near a wall.
- Place your feet about hip-width apart and keep your weight evenly distributed.
- Hold a hardcover book, carpenter’s level, or similar rigid object between your legs, with its flat edge horizontal.
- Raise it snugly into the crotch without causing pain. The contact should approximate the support of a bicycle saddle.
- Ask a helper to measure vertically from the floor to the upper edge of the book, or mark that height on the wall and measure afterward.
- Repeat the process at least twice. Record the units and use the same method for future comparisons.
A soft tape measure held along the leg can curve or angle, producing a different result from a vertical floor-to-crotch measurement. A helper and a rigid object make it easier to keep the measurement level and repeatable.
Common measurement mistakes
- Using trouser sizing: A garment inseam is not the same measurement as floor-to-crotch height.
- Measuring over cycling shoes: Shoes add height and can distort the body measurement.
- Holding the object too low: A loose contact point may underestimate the inseam.
- Tilting the object or tape: The measurement should be vertical, not diagonally across the body.
- Forcing the book painfully upward: The aim is firm, consistent contact, not an artificially high reading.
- Relying on one reading: Repeating the process helps reveal positioning errors.
Cycling inseam measurement: how it relates to frame size and saddle height
Once measured, inseam can help narrow choices, but it should not dictate them. A common preliminary saddle-height calculation multiplies inseam by approximately 0.883 to estimate the distance from the center of the bottom bracket to the top of the saddle along the seat tube. This method is often associated with the LeMond formula. It is a starting estimate, not a universal prescription: saddle shape, crank length, shoes, cleat position, and individual movement can all change the appropriate setup.
Using inseam to check standover clearance
Standover clearance is the space between the rider and the bicycle’s top tube when standing over the frame. The amount needed varies with bicycle type, frame design, and riding conditions. Road, gravel, and mountain bikes can have different top-tube shapes and intended clearances, so compare your measured inseam with the specific manufacturer’s geometry information rather than applying one clearance rule to every bike.
For a real-world comparison, consider two bikes carrying the same nominal size label: one may have a sloping top tube and ample standover room, while another has a higher, flatter tube. The size label alone cannot establish whether either frame is suitable. Check the manufacturer’s geometry chart and, when possible, stand over the bike in the shoes you will ride in.
Using inseam to set a saddle starting point
The 0.883 estimate can help position a saddle before fine-tuning, but the result should be checked on the actual bike. With the rider pedaling, a fitter may assess whether the pelvis stays stable, the knees track comfortably, and the rider can pedal smoothly through the bottom of the stroke. A saddle that is too high can encourage rocking or reaching for the pedal; one that is too low may feel cramped. These are practical clues, not diagnoses—persistent pain deserves a qualified bike-fit assessment or medical advice.
Why frame size needs more than inseam
Inseam mainly describes leg length, whereas frame fit also depends on reach and torso proportions. Stack and reach measurements describe a frame’s vertical and horizontal dimensions and allow more meaningful comparisons between models than a size label alone. Even then, handlebar width, stem length, saddle setback, and riding goals affect the final fit. Use inseam to shortlist a size, then evaluate the whole riding position.
Cycling inseam measurement: a practical fit-check routine
A measurement becomes useful when it is tested against the bicycle and the rider’s experience. Begin with the manufacturer’s sizing guidance, set the saddle near a reasonable starting estimate, and make small adjustments while checking comfort and control. Record changes so you can identify which adjustment helped rather than changing several variables at once.
Check the bike while stationary and riding
- Confirm that you can mount and dismount safely and that the frame is appropriate for the intended riding.
- On a trainer or quiet, flat route, pedal at an easy effort and watch for hip rocking, toe-pointing to reach the bottom of the stroke, or a cramped feeling.
- Check reach and hand comfort as well as leg extension; a saddle adjustment cannot correct every frame-fit issue.
- Make small changes, then ride long enough to assess them without pushing through pain.
- Seek a professional fitter for persistent discomfort, injury concerns, major asymmetry, or uncertainty about cleats and saddle position.
The International Cycling Union (UCI) regulates equipment and competition matters, but everyday comfort and fit are individual concerns; a regulatory standard is not a substitute for a personal fit assessment. Likewise, a formula provides a repeatable starting point but cannot account for every rider’s anatomy and movement.
Conclusion: measure cycling inseam, then verify the fit
The inseam mistake cyclists keep making is treating one number as a final answer. Cycling inseam is a floor-to-crotch measurement that can help with early frame comparisons and saddle-height estimates, but it differs from clothing inseam and cannot capture full-body proportions or riding dynamics. Measure barefoot with a rigid object, repeat the reading, consult the bicycle’s geometry and sizing guidance, and confirm the setup through a careful fit check. If discomfort continues, consult a qualified bike fitter rather than relying on repeated guesswork.
Sources: Lennard Zinn, “How to Find Your Ideal Saddle Height,” VeloNews, https://www.velonews.com/gear/how-to-find-your-ideal-saddle-height/; Trek Bicycle, “Bike Size Guide,” https://www.trekbikes.com/us/en_US/size-finder/; Specialized Bicycle Components, “Bike Sizing,” https://www.specialized.com/us/en/size-guide; International Cycling Union (UCI), “Technical Regulations,” https://www.uci.org/regulations/3MyLDDrwJCJJ0BGGOFzOat.
Related Post

Frame Size, Gears, and Budget Breakdown for the Completely Lost Beginner
A bicycle’s frame size is the fit dimension that helps determine whether the rider can [...]
Moisture Management Changes Everything About Cycling Comfort
Cycling moisture management is the way clothing handles sweat and rain to help riders stay [...]