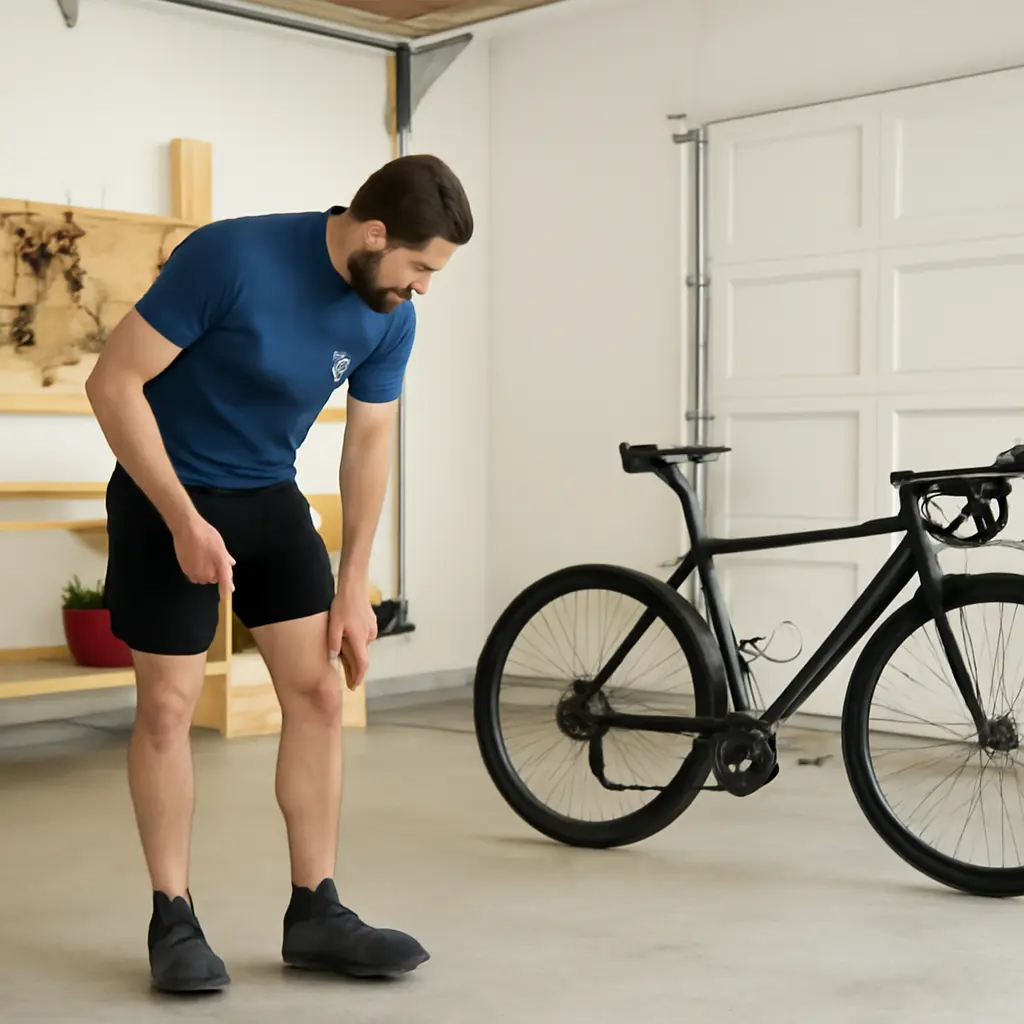
Gravel riding demands different kit, and here’s why most riders get it wrong
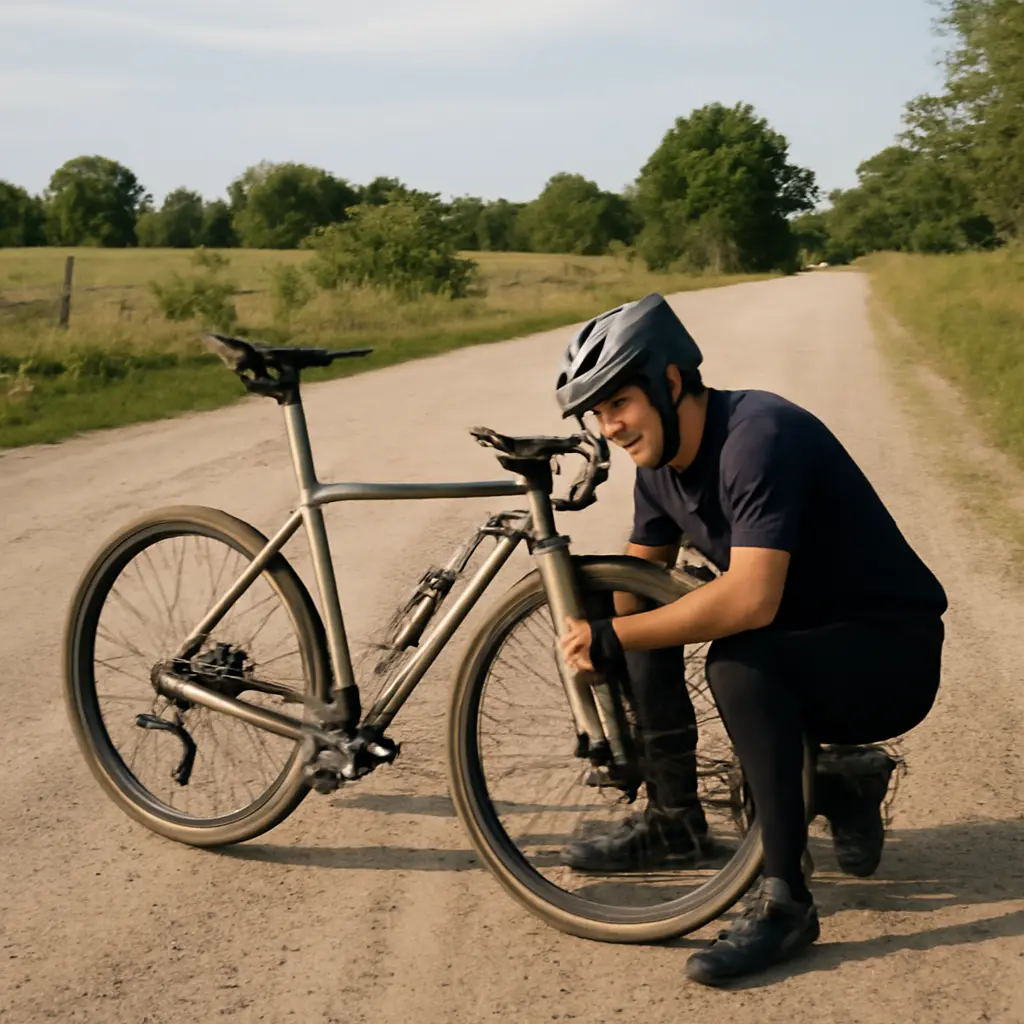
Gravel riding is cycling on unpaved roads and mixed surfaces, where riders may move between hard-packed dirt, loose stone, pavement, and rougher trails in a single outing. That variety is why gravel kit differs from road kit: comfort, tire control, weather protection, and repair capacity matter alongside speed. A 2023 PeopleForBikes participation report counted 8.9 million Americans riding gravel, underscoring the discipline’s growth; yet many riders still choose equipment as if every ride were a smooth road race. The right approach starts with terrain and ride duration, then balances tires and clothing against carrying capacity, safety, and the conditions likely to change en route.
Why gravel riding changes equipment choices
Gravel kit is the clothing, components, and carried equipment selected for a ride that combines unpaved and paved surfaces. There is no single official definition of gravel equipment, but cycling publications and governing bodies commonly distinguish gravel competition from road racing by its variable terrain, longer exposure, and need for self-sufficiency. The Union Cycliste Internationale’s gravel world championship rules, for example, allow courses with mixed surfaces and set event distances that can exceed 100 kilometers, depending on category and edition.
That makes gravel a system rather than a shopping list. A tire that grips loose corners may roll more slowly on pavement; a lightweight jersey may feel inadequate after hours in wind or rain; and a spare tube is not enough if a rider has no pump or compatible repair tools. The key decision is not “road kit or mountain-bike kit?” but “what does this route demand, and what happens if conditions or equipment change?”
Mixed surfaces reward adaptable equipment
Gravel routes vary from smooth, compact dirt to chunky, washboarded roads. Each surface changes the balance among rolling resistance, traction, vibration, and puncture risk. The industry standard ISO 4210 provides safety requirements and test methods for bicycles, but it does not prescribe one ideal gravel setup: equipment selection remains a matter of matching the bike and kit to the route, rider, and conditions.
A useful planning method is to inspect the route profile, surface notes, weather forecast, distance between services, and expected ride time. A short, smooth gravel loop close to home may need little more than a road-style setup and a basic repair kit. A remote event with rough descents and long gaps between aid stations calls for wider tires, more robust protection, extra food, and a clearer mechanical plan.
Gravel tire choice determines comfort and control
Tire choice is one of the most consequential gravel setup decisions because the tires connect the rider to every surface. Bicycle tire pressure is the force of air inside the tire, while tire width describes its nominal casing size; together with casing construction and tread, they influence comfort, grip, rolling feel, and resistance to impacts. In a 2020 study published in Nature, researchers found that vibration exposure on rough roads can substantially affect cycling performance, supporting the practical value of reducing harshness rather than chasing low pressure or minimal tire width blindly.
The common gravel tire categories include slick or lightly treaded tires for hardpack, semi-slick tires for mixed routes, and more aggressively treaded tires for loose or muddy conditions. Widths often fall roughly between 35 and 50 millimeters, though frame clearance and event rules can constrain the choice. These are practical ranges, not universal prescriptions: a rider should follow the bicycle maker’s clearance limits and consider the tire’s actual measured width on the chosen rim.
Width and pressure should match the surface
Wider tires can provide more air volume and allow lower pressure, which may improve comfort and help the tire conform to uneven ground. But “wider is always better” is a mistake: clearance, rim compatibility, rider weight, tire construction, and the amount of pavement all matter. Similarly, pressure that is too high can make a rough ride feel harsh and reduce control, while pressure that is too low can increase the chance of rim strikes, tire squirm, or damage.
Use a tire-pressure calculator from a reputable manufacturer as a starting point, then adjust in small increments after checking the tire maker’s limits. Tubeless setups can reduce pinch-flat risk because they do not use an inner tube, but they are not puncture-proof: sealant may not close a large cut, and a spare tube remains useful. Before a long ride, check pressure, sealant condition, valve security, and whether the wheels are compatible with the tire system.
Tread is a terrain decision, not a fashion choice
A slick center tread can roll efficiently on firm ground, while side knobs can add support when a rider leans into loose turns. Deep, closely spaced knobs may help in soft or muddy conditions but can feel slower on hardpack. For a route with varied surfaces, a moderate tread pattern often offers a more useful compromise than selecting an extreme tire based on the ride’s name alone.
This choice should connect to handling. Riders should test tires on familiar terrain before an event, especially if changing width or tread. A short test ride can reveal rubbing, unstable cornering, or pressure problems that a product description cannot.
Gravel clothing manages hours of changing conditions
Gravel clothing is an adaptable layer system designed to regulate temperature, manage moisture, and reduce discomfort during long periods outdoors. The American College of Sports Medicine advises athletes to account for environmental conditions and individual responses when exercising; in practice, gravel riders must also account for changing speed, exposed descents, shade, rain, and stops. A fast climb can make a rider sweat, while a windy descent soon afterward can make damp clothing feel cold.
The useful clothing categories are a moisture-managing base layer, a breathable jersey, padded shorts or bib shorts, and packable protection such as a wind vest or rain shell. Gloves, eyewear, and socks are not merely accessories: they affect grip, eye protection, warmth, and comfort over rough ground. The right combination depends on forecast, season, route exposure, and how quickly the rider tends to overheat or chill.
Layering beats dressing for the first mile
A lightweight vest or shell is useful because it can be carried during a warm climb and worn when wind or rain increases exposure. Layers should fit closely enough not to flap or snag, while still allowing unrestricted movement and adequate ventilation. For cold-weather rides, the National Weather Service recommends paying attention to wind chill and keeping clothing dry; that guidance is particularly relevant when a gravel route includes exposed ridgelines or long descents.
Riders often overdress at the start because the parking area feels cold. A better test is to begin slightly cool, with a layer that can be removed and stowed. On longer rides, pack according to the worst likely condition, not only the departure forecast.
Padded shorts and gloves protect comfort and control
Padded cycling shorts are designed to reduce friction and distribute pressure at contact points. The pad’s shape and fit matter more than its apparent thickness, and adding ordinary underwear beneath padded shorts can create extra seams and friction. Riders should test shorts on progressively longer rides rather than relying on a first impression.
Gloves can improve comfort and help protect the hands during a fall, while eyewear shields eyes from dust, insects, grit, and wind. Neither replaces sound bike handling or a properly fitted helmet. Choose eyewear with a secure fit and lenses suited to changing light, and ensure gloves preserve enough dexterity to operate brakes and shifting controls.
Gravel carrying systems support self-sufficiency
A gravel carrying system is the combination of pockets, frame bags, saddlebags, hydration storage, and other means of bringing food, water, tools, and layers. Unlike a short road spin with frequent services, a gravel ride may pass through remote areas where a mechanical problem or missed resupply point has real consequences. The Adventure Cycling Association’s route-planning guidance emphasizes carrying appropriate repair supplies and planning for services and water, principles that apply directly to unsupported gravel riding.
Common options include jersey pockets for frequently used items, a small saddlebag for tools, a top-tube bag for snacks, and a frame bag for bulkier supplies. A hydration pack can add water capacity but may feel warm on the back; bottles are simple to refill but depend on frame space and available water. The best setup keeps essential items secure, accessible, and balanced without interfering with handling.
Carry tools that solve likely failures
A practical repair kit commonly includes a spare tube, tire levers, a pump or compatible CO₂ inflator, a multitool, and tubeless plugs if the bike uses a tubeless system. Riders should also know how to use each item and confirm that the tube’s valve type and length fit the wheel. For remote routes, a small tire boot can help manage a casing cut, while a quick link may be useful if the rider knows how to repair a chain.
The kit should be tested before departure. A pump that does not fit the valve, a dead electronic device, or a tool that cannot reach a bolt is not useful merely because it is packed. Practice a tube change and tubeless repair at home, and check that the chosen bag does not rub against the frame or loosen on rough roads.
Food and water planning should follow route length
Food and water needs depend on ride duration, intensity, weather, body size, and access to resupply. The American College of Sports Medicine’s position stand on exercise and fluid replacement notes that hydration needs vary substantially among individuals and conditions; no single drinking rate fits every rider. A route plan should identify reliable water stops and include enough capacity for delays or closed services.
For longer rides, carry familiar, easy-to-eat foods and begin eating before energy drops. Gravel surfaces can make it harder to reach into pockets or unwrap food while riding, so store snacks where they are accessible safely, or stop to eat. Treat any published nutrition target as a starting point to test during training, not as a guarantee of individual need.
Gravel safety and fit prevent avoidable problems
Gravel safety equipment and fit are the choices that help a rider remain visible, maintain control, and avoid preventable discomfort or mechanical risk. The National Highway Traffic Safety Administration recommends wearing a properly fitted bicycle helmet and using lights and reflective materials to improve visibility. Those precautions matter on gravel routes that use public roads, especially around dawn, dusk, and changing weather.
Fit also affects safety. A saddle or handlebar position that causes numbness, pain, or loss of control can become more problematic over a long, vibrating ride. Before changing components, make adjustments gradually and assess them on shorter rides. Persistent pain, numbness, or recurring handling problems warrant professional bike-fit or medical advice rather than simply adding padding or tightening equipment.
Visibility and route preparation matter beyond the bike
Front and rear lights, reflective details, and weather-appropriate eyewear help riders respond to traffic and reduced visibility. A phone with a downloaded route, identification, and a basic first-aid item can add resilience, but electronics need battery planning. Tell someone the route and expected return time when riding alone or in remote areas, and check local access rules before entering private or seasonal roads.
A real-world example is the unsupported event format, in which riders may have to navigate and manage repairs without on-course mechanical assistance. In such settings, a compact tool roll, route file, emergency layer, and clearly planned resupply points can be more valuable than a marginally lighter component. The same logic applies to an ordinary weekend ride once it moves beyond convenient access to shops or transport.
Why riders get gravel kit wrong
The most common mistake is buying for a label—“gravel”—rather than for the route. Riders may copy a professional setup designed for a fast event, choose tires too narrow for their local surfaces, or carry too little protection because the forecast looked favorable. Others overcorrect by carrying unnecessary gear that shifts around, adds bulk, or makes food and tools difficult to reach.
A better decision process is to identify the route’s surface and remoteness, set tire width and pressure within the bike and tire makers’ limits, choose layers for the likely weather range, and carry supplies for realistic delays. Test the complete setup on a shorter ride. The goal is not maximum equipment; it is a setup that stays comfortable, controllable, and repairable for the ride actually planned.
- For smooth, short routes: prioritize efficient tires, basic repair tools, and enough water for the outing.
- For rough or loose routes: consider more tire volume, suitable tread, and a pressure adjustment validated by testing.
- For long or remote routes: add repair redundancy, food, water capacity, navigation, and an emergency layer.
- For changeable weather: carry a packable shell or vest and avoid relying on the departure temperature alone.
Conclusion: Build gravel kit around the ride
Gravel riding demands different kit because mixed surfaces, long exposure, and uneven access to help change what equipment must do. Tires shape comfort and control; clothing manages temperature and weather; carrying systems provide food, water, and repair capacity; and fit, visibility, and route planning reduce avoidable risk. The broad lesson is that gravel kit should be selected as a connected system, not assembled by copying a road-racing setup or buying every product marketed for gravel.
Before the next ride, review the route, forecast, resupply options, and bike limits; then test the tires, layers, and repair kit together. For further guidance, consult your bicycle and tire manufacturers’ specifications, a qualified bike fitter, and reputable route-planning and cycling-safety resources. A little preparation makes it more likely that the equipment supports the ride instead of becoming the reason it ends early.
Sources: PeopleForBikes, 2023 Bicycle Industry Data and Participation Reports, https://www.peopleforbikes.org/statistics; Union Cycliste Internationale, UCI Gravel World Championships Regulations and Technical Guides, https://www.uci.org/discipline/gravel/6L2pH8F0pQ3xJf7YfY0q8H; International Organization for Standardization, ISO 4210-2:2023 Cycles—Safety Requirements for Bicycles—Part 2: Requirements for City and Trekking, Young Adult, Mountain and Racing Bicycles, https://www.iso.org/standard/78077.html; Irene Davis et al., “Running in the Real World: The Role of Footwear and Running Surface,” Nature, 2020, https://www.nature.com/articles/s41586-020-2931-0; American College of Sports Medicine, “Exercise and Fluid Replacement,” Medicine & Science in Sports & Exercise, https://pubmed.ncbi.nlm.nih.gov/17277604/; National Weather Service, Wind Chill Safety, https://www.weather.gov/safety/cold-wind-chill-chart; Adventure Cycling Association, Bicycle Travel Basics and Gear Resources, https://www.adventurecycling.org/resources/; National Highway Traffic Safety Administration, Bicycle Safety, https://www.nhtsa.gov/road-safety/bicycle-safety.
Related Post
UV Protection Matters More Than You Think on Long Rides
Ultraviolet (UV) protection on long rides means limiting the amount of sun exposure that reaches [...]
How Helmet Safety Standards Differ Across Age Groups
A helmet’s safety standard is the set of design and testing requirements it must meet [...]